BearBob Studio
Field manual

Apex Mechs

Build an army from cards, place it on the grid and watch it fight. Here is everything you need: the rules, all 13 units, 5 buildings, 15 artifacts, perks and commanders — with the exact numbers from the game.

How to play

Pick reinforcements

Every round you get crystals. Spend them on cards in the Armory: units, buildings and artifacts. Tap a card to take it, or reroll the offer for 1 crystal.

Place cards on the grid

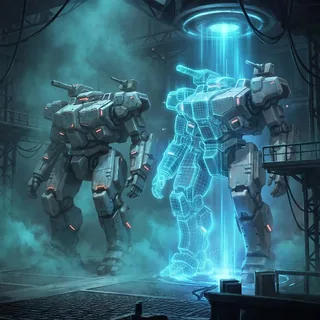
Drag a card from your hand onto a free tile. Drop a second copy of the same unit on top of it to merge them: +1 level, up to level 4.

Arrange the army

Rows closer to the enemy fight first — put tanks there. Keep long-range shooters in the back. Artifacts go straight onto a unit; buildings buff the tiles around them.

Call in support

In the Command Center buy an extra slot, defensive turrets or an Orbital Nuke for the coming battle.

Watch the battle

Press Start Deployment — the fight is automatic. You can speed it up. Squads that survive the round hit the enemy commander.

Win and climb

Bring the enemy commander from 20 HP to zero. Victories in the Battle Arena give rating and move you through the leagues.

Rules

20HP of each commander. Reach zero — you lose.
3 → +2 → +3crystals: 3 in round 1, +2 in round 2, +3 every round after.
1 / 2 / 3damage to the enemy commander from each surviving squad of tier 1 / 2 / 3.
L1 → L4merge copies of a card to level it up. HP and damage grow ×2, ×3, ×4.
15rounds in an arena battle. If both commanders are still alive — it is a draw.
R3 · R6 · R9 · R12a new tile opens on your grid. Slot Deployment adds one more.

Units · 13

Units are your squads. Copies of the same unit merge into a higher level: at level 2 a squad has twice the HP and damage of level 1, at level 4 — four times. Other stats stay the same. Stats below are for one mech of the squad.

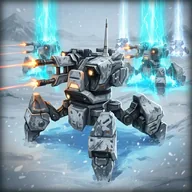
Striker Tier 11

Striker

Front-line swarm

Nine light mechs with plasma cannons. Cheap screen that soaks the first shots while your back line works.

Level 1Level 4
HP728
DMG624
Attack interval1.5s
Attack distance37.5m
Units9
Speed3m/s

«Sent to the front line. Because he's expendable.»

Perks
  • Speed +40%granted
  • DMG +50%perk parts
  • Attack distance +45%perk parts
Sniper Tier 11

Sniper

Long-range marksman

One mech, long reach and a heavy shot every 3 seconds. Picks off targets from far behind the front.

Level 1Level 4
HP32.6130.4
DMG55220
Attack interval3.1s
Attack distance70m
Units1
Speed4m/s

«Sees you before you realize you're seen.»

Perks

  • Attack distance +30%granted
  • DMG +50%perk parts
  • Attack speed +40%perk parts
Storm Walker Tier 11

Storm Walker

Fast skirmisher

Four quick mechs with rapid-fire guns. Close the distance fast and spread damage.

Level 1Level 4
HP1560
DMG1.45.6
Attack interval0.4s
Attack distance47.5m
Units4
Speed8m/s

«Shoots faster than it makes decisions.»

Perks

  • DMG +30%perk parts
  • Attack distance +30%granted
  • Units +4, DMG −40%perk parts
Hellfire Tier 11

Hellfire

Flamethrower tank

The toughest tier 1 unit. Short range, burns everything in its cone. Put it in the first row.

Level 1Level 4
HP155620
DMG0.843.36
Attack interval0.1s
Attack distance26m
Units1
Speed4.5m/s
Spray length30m

«If the enemy's on fire, everything's working.»

Perks

  • HP +50%perk parts
  • DMG +30%granted
  • Speed +40%perk parts
Drone Tier 11

Drone

Melee swarm

Twelve fast drones that rush into close combat. A lot of bodies for one crystal.

Level 1Level 4
HP1144
DMG3.212.8
Attack interval0.6s
Attack distanceMelee
Units12
Speed8m/s

«Cheap, close-range, expendable. Like your plan.»

Perks

  • HP +50%granted
  • Units +4perk parts
  • DMG +50%perk parts
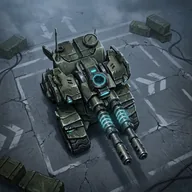
Hercules Tier 22

Hercules

Melee bruiser

Heavy fast mech that smashes into the enemy line with area hits.

Level 1Level 4
HP2901160
DMG71.2284.8
Attack interval0.9s
Attack distanceMelee
Units1
Speed8m/s
Splash range1.2m

«Hugs hard. Once. Permanently.»

Perks

  • HP +75%perk parts
  • Splash range +75%granted
  • Speed +35%granted
Hornet Tier 22

Hornet

Missile artillery

The longest range in the game. Two launchers fire rarely but hit an area. Keep them in the very back.

Level 1Level 4
HP46184
DMG40.2160.8
Attack interval6.6s
Attack distance90m
Units2
Speed3m/s
Splash range0.8m

«Fires from beyond the horizon. Apologies not included.»

Perks

  • DMG +25%perk parts
  • Attack distance +50%granted
  • Attack speed +100%, Attack distance −70%, Speed +40%perk parts
Hurricane Tier 22

Hurricane

Suppression gunner

Two sturdy mechs with twin rapid-fire barrels and splash. Solid middle row.

Level 1Level 4
HP127508
DMG2.510
Attack interval0.2s
Attack distance50m
Units2
Speed4.5m/s
Splash range1.6m

«Two barrels. Zero diplomacy.»

Perks

  • Speed +50%granted
  • Attack distance +30%granted
  • Attack speed +50%perk parts
Solar Lance Tier 22

Solar Lance

Laser assassins

Four fast mechs with laser blades. Huge damage at short range — they need to reach the target.

Level 1Level 4
HP100400
DMG33132
Attack interval0.2s
Attack distance22.5m
Units4
Speed8m/s

«Laser blade. A handshake leaves you without a hand.»

Perks

  • Units +1granted
  • HP +35%perk parts
  • Attack distance +25%perk parts
Thunderhead Tier 22

Thunderhead

Siege tank

Two armored tanks with big-splash shells. Slow fire, but each shot hits a crowd.

Level 1Level 4
HP185740
DMG32128
Attack interval4.5s
Attack distance47.5m
Units2
Speed3.5m/s
Splash range2.8m

«Tank. Strikes rarely. Buries in bulk.»

Perks

  • DMG +50%perk parts
  • Attack distance +30%granted
  • HP +35%perk parts
Goliath Tier 33

Goliath

Giant tank

The most HP in the game and a heavy cannon. Holds the front for your whole army.

Level 1Level 4
HP4801920
DMG97.8391.2
Attack interval1.8s
Attack distance50m
Units1
Speed3m/s
Splash range0.65m

«Armored stubbornness. Persuasion not included.»

Perks

  • Attack speed +40%perk parts
  • Speed +60%granted
Quasar Tier 33

Quasar

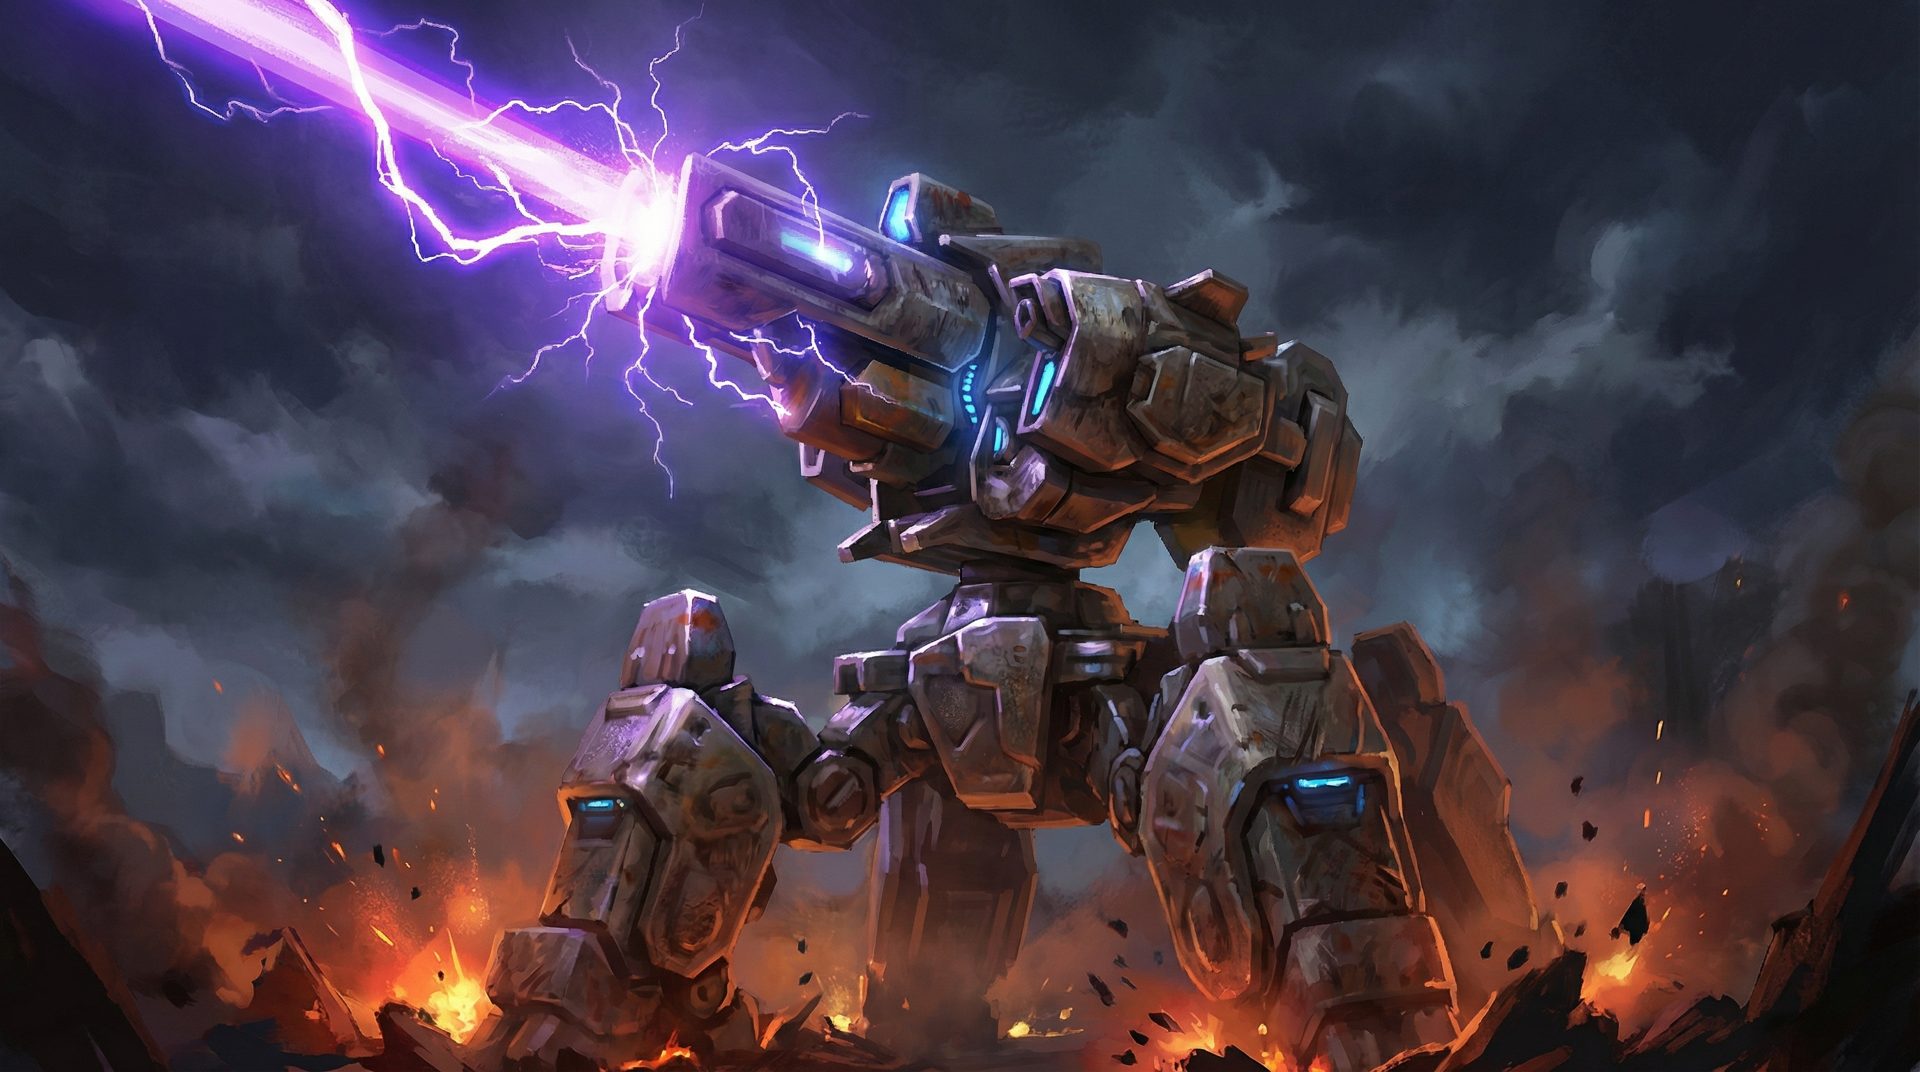
Laser giant

A continuous beam that melts anything in range. The strongest damage dealer when it is protected.

Level 1Level 4
HP3001200
DMG110440
Attack interval0.2s
Attack distance57.5m
Units1
Speed3m/s
Splash range0.65m
Aim time0.8s

«Laser giant. Late to the battle. On time for the funeral.»

Perks

  • Attack distance +25%granted
  • DMG −80%, Aim time −75%granted
Vulcan Tier 33

Vulcan

Giant flamethrower

A walking fortress with a long flame. Made to burn down swarms.

Level 1Level 4
HP4101640
DMG1.054.2
Attack interval0.1s
Attack distance36.8m
Units1
Speed3m/s
Spray length43.1m

«Built for crowds. Leaves them as ash.»

Perks

  • DMG +100%granted
  • HP +100%granted

Buildings · 5

Buildings do not fight. They stand on the grid and work every turn: buff the squads around them or bring resources. Like units, they level up from copies.

Amplifier Tier 11

Amplifier

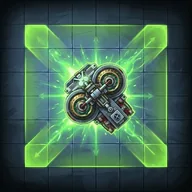
End of every turn: neighbours get +4 / 7 / 10 / 13 % damage by level. The bonus stacks turn after turn.

Affects the 4 neighbouring tiles (cross)

«End of turn: +4% attack damage to neighbors. Neighborly.»

Perks

  • Cost ×2; also adds HP to neighboursperk parts
  • Cost ×2; bigger area and powerperk parts
Repair Depot Tier 11

Repair Depot

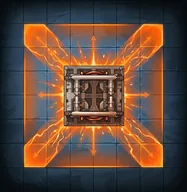
End of every turn: neighbours get +5 / 9 / 13 / 17 % HP by level. The bonus stacks turn after turn.

Affects the 4 neighbouring tiles (cross)

«End of turn: +5% HP to neighbors. Keeps the armor.»

Perks

  • Cost ×2; power ×2perk parts
  • Cost ×2; bigger area and powerperk parts
Drill Mine Tier 13

Drill Mine

+1 / +2 / +3 / +4 supply every 2 rounds by level. Costs 3 — at level 1 it pays back in 6 rounds.

«Digs +1 supply every 2 rounds. KPI met.»

Nexus Tier 21

Nexus

Every 2 rounds spends supply (2 / 1 / 1 at level 1 / 2 / 3) and raises a random card on your grid by +2 / +2 / +3 levels.

«Every other turn, spends supply to level up a random slot. Optimization.»

Research Lab Tier 22

Research Lab

Every 2 rounds gives a random artifact of tier up to 1 / 2 / 3 by level.

«Every 2 rounds, grants a random tier 1 artifact. R&D.»

Perks

  • More tier 1 artifactsperk parts
  • More tier 2 artifactsperk parts
  • More tier 3 artifactsperk parts

Artifacts · 15

Artifacts are dropped onto a unit and stay with it for the whole battle. Each artifact type can be placed on a unit once, but one unit can carry several different artifacts. Tier 1 and 2 artifacts appear from round 2, tier 3 — from round 3.

Dismantling Tier 1 · 0◆

Destroy target: +1 supply per its level. For parts.

Energy Shield Tier 1 · 1◆

Shield for 50% max HP. First hit's free.

Fire Control Tier 1 · 1◆

+75% damage. Period.

Heavy Armor Tier 1 · 1◆

+100% HP. Thicker skin.

Jet Boosters Tier 1 · 1◆

+2.5 speed and +35% damage. Return not guaranteed.

Turbo Actuator Tier 1 · 1◆

Shoots more: +50%.

Precision Tier 2 · 1◆

+15% range. Stay back.

Force Reallocation Tier 2 · 2◆

Destroy target: +2 random cards to hand. Reshuffle.

Replication Tier 2 · 2◆

Copies a card. Encore.

Scrap Collector Tier 2 · 2◆

When the squad dies, +1 supply. Profits off its own.

Upgrade Tier 2 · 2◆

Levels up any slot. Just better.

Acid Explosion Tier 3 · 1◆

On death, leaves an acid pool: 15% max HP per second. Leaves a mess.

Frag Mine Tier 3 · 1◆

On death, drops a frag mine for 30 damage, lasts 3 rounds. Parting gift.

Living Bomb Tier 3 · 1◆

On death, explodes for area damage equal to max HP. A finale.

Refit Tier 3 · 3◆

Destroy a slot; neighbors level up. Economy.

Perks

Perks are permanent upgrades outside the battle. Every unit and building has one perk slot, every commander has one more. Perks are unlocked with perk parts from chests and the shop: the first one costs 5 parts, each next one +5 (up to 100). Universal parts can fill the gap. Some perks are given for free at the start or for defeating a commander.

↑ Units / Buildings

Commanders

Commanders

The commander sets your starting hand. Beat a commander in Combat Trials to unlock the next one and get its reward perk and Mineralium.

Firepower Commander

Firepower Commander

Starting cards: Striker + Sniper

Available from the start

Reward for beating: Attack distance +30% (Hurricane) + 50 Mineralium

Drone Commander

Drone Commander

Starting cards: Drone + Drone

Unlocks after: Firepower Commander

Reward for beating: Splash range +75% (Hercules) + 100 Mineralium
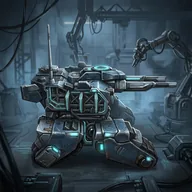
Flame Commander

Flame Commander

Starting cards: Hellfire + Fire Control

Unlocks after: Drone Commander

Reward for beating: HP +100% (Vulcan) + 150 Mineralium

War Machine Commander

War Machine Commander

Starting cards: Storm Walker + Nexus

Unlocks after: Flame Commander

Reward for beating: Speed +60% (Goliath) + 200 Mineralium

Rocket Support Commander

Rocket Support Commander

Starting cards: Amplifier + Repair Depot

Unlocks after: War Machine Commander

Reward for beating: DMG −80%, Aim time −75% (Quasar) + 250 Mineralium
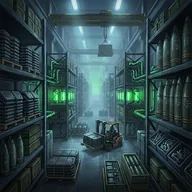
Command Center

The Command Center is the building on your side of the field. Tap it to buy a support action for the next battle.

Forward Defense 1◆

Machine-gun turrets defend your base in the next battle.

Slot Deployment 1◆

+1 tile on your grid for the rest of the battle.

Orbital Nuke 3◆

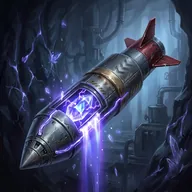
Hits the enemy field 8 s after the battle starts: 7000 damage to every unit.

Modes

PvE

Combat Trials

Enter the Combat Trials and fight through waves of enemies in increasingly difficult battles.

Beat commanders one by one to unlock them and their perks.

PvP

Battle Arena

Enter the Battle Arena and face off against other players' armies in strategic battles.

Your rating moves you up from Starter to Bronze, Silver and Gold leagues. Opponents get stronger with every league.

LIVE

War Room

Invite a friend to a live battle using a room code.

Create a room, send the code to a friend and play a live match.

Tips

  1. Only survivors deal damage.A squad that dealt a lot of damage but died does not hit the enemy commander. Protect your carries.
  2. Tanks in front, guns in the back.Hellfire, Goliath and Thunderhead go in the rows closest to the enemy. Sniper, Hornet and Quasar go in the back.
  3. Level up a few units instead of buying many.Level 3 is three times stronger than level 1. Five or six levelled squads beat ten fresh ones.
  4. Artifacts are the cheapest power.Fire Control is +75% damage and Heavy Armor is +100% HP, both for 1 crystal. Put several different artifacts on your main carry.
  5. Buff buildings early and don't move them.Amplifier and Repair Depot add their bonus at the end of every turn and it keeps stacking. Place them early and surround them with your best squads.
  6. A giant changes the game.Goliath, Quasar and Vulcan become available from round 3. Getting one early is often what wins the middle of the battle.


  7. Watch the economy.Drill Mine costs 3 and returns 1 supply every 2 rounds at level 1 — it pays back only after 6 rounds. Buy it early or skip it.